Lion
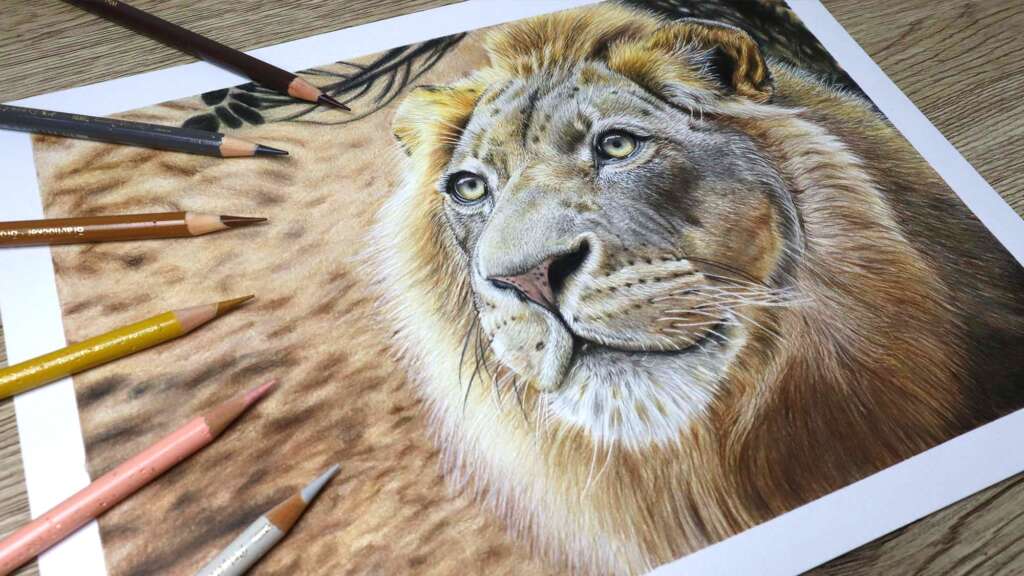
Welcome to this majestic Lion tutorial! Completed in around 18 hours this is great for seasoned artists as we use many different resources, techniques and also for beginners to learn new skills along the way. Please access the material list to see all tools required for this one before you get started and access the material video that goes along with it.
photographer credit: michael-rodock
- Faber Castell Polychromos Pencils
Prisma Colour Soft White Pencil / Soft white Holbein Pencil
Strathmore Bristol Vellum Paper A4 Size (21x30cm)
Zest-it Colour Pencil Blender (blending sponge optional)
Small Round Size 3 Paint Brush Medium
Water Colour Brush
Kneadable Eraser
Derwent Crank Handle Sharpener
Faber Castell Superpoint Mini Sharpener
Sandpaper Sharpener
Embossing Tool
Slice Tool / craft knife
Fluffy Brush
- Washi Tape
- Fluffy Brush
- Washi Tape
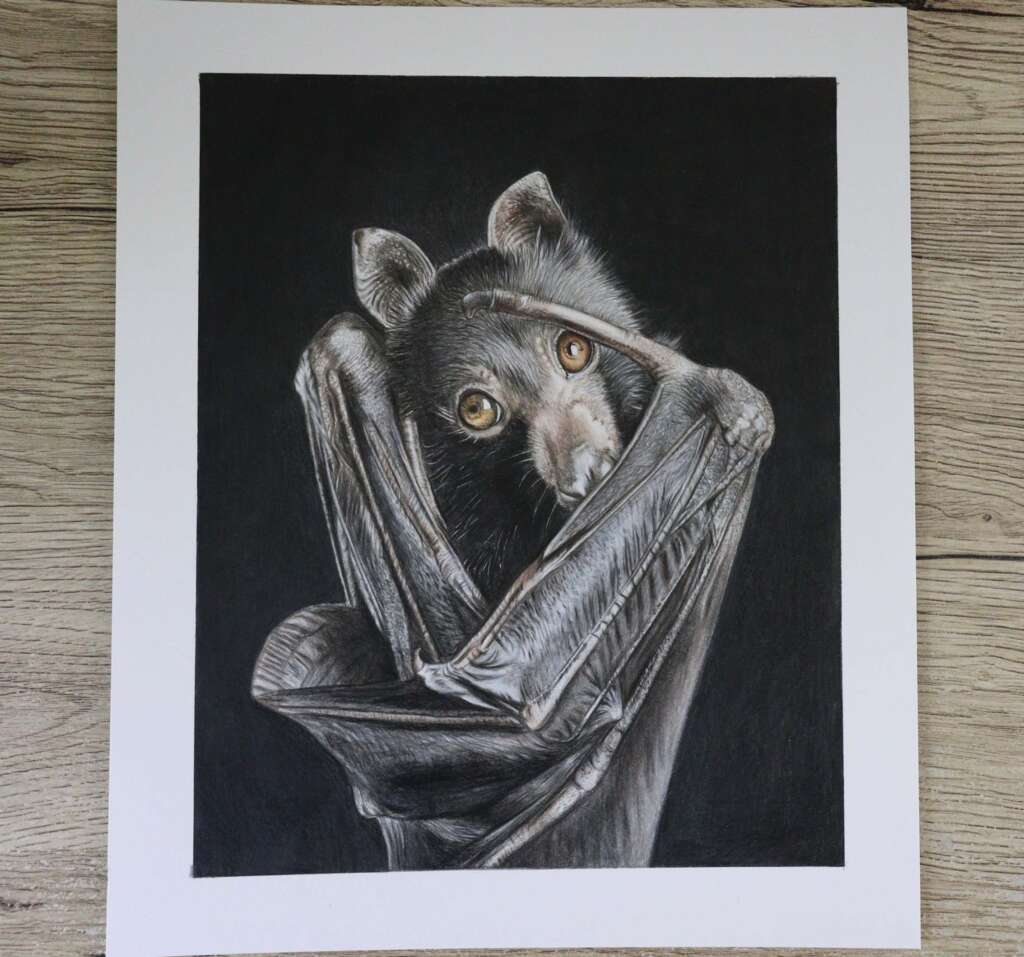
Bat
Welcome to this sweet little bat tutorial! Complete this beautiful little bat in just over 13 hours along with the black background. This tutorial is great for learning light and dark tones, smooth texture and getting dark greys and blacks on white paper.
Faber Castell Polychromos Pencils
Prisma Colour Soft White Pencil / Caran Dache Luminance White / Soft white Holbein Pencil
Strathmore Bristol Vellum Paper (10x8inch)
Zest-it Colour Pencil Blender (blending sponge optional)
Small Round Size 3 Paint Brush
Medium Water Colour Brush
Kneadable Eraser
Derwent Crank Handle Sharpener
Faber Castell Superpoint Mini Sharpener
Sandpaper Sharpener
Embossing Tool Slice Tool / craft knife
Fluffy Brush
Washi Tape
In this video you will see how I outline the Bat reference photo from my tablet, use word to get the right size and then using tracing paper to get it on to my art paper. You will find a copy of the line art in the description on Patreon for Part 1 of the Bat when it’s released.
App used on the tablet is called: Sketchbook
The tablet I’m using is a Galaxy Tab S7 FE Program is Office Word
Saw-whet Owl
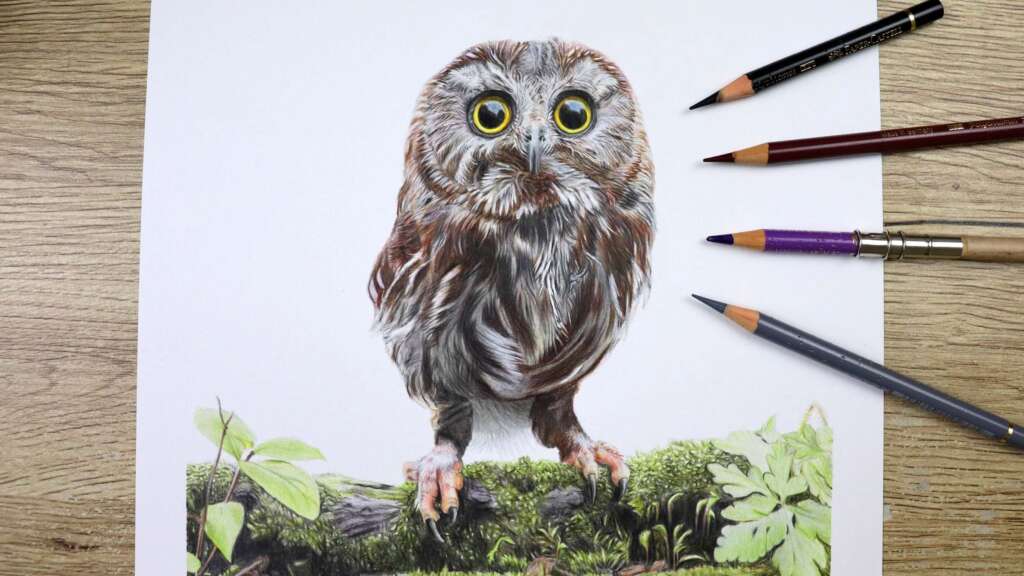
Welcome to this hooty little Saw-whet Owl tutorial! Complete this beautiful little bird in just over 12 hours along with the branch and leaf texture. This tutorial is great for learning big bright eyes, practicing feather texture and learning about moss and bird feet. Feather texture can be very tricky so please make sure to take your time and have the reference photo up while you go!
Please remember any supplies you have are able to be used for this piece, it is not necessary to use the exact colours and supplies listed below:
Faber Castell Polychromos Pencils
Prisma Colour Soft White Pencil
Strathmore Bristol Vellum Paper size 11×14 inch (Owl is around 7×4 inch on the page)
Kneadable Eraser
Derwent Crank Handle Sharpener
Faber Castell Superpoint Mini Sharpener
Sandpaper Sharpener
Embossing Tool
Slice Tool / craft knife
Fluffy Brush
Washi Tape
Reference I have purchased from iStock – Photographer credit: iculizard
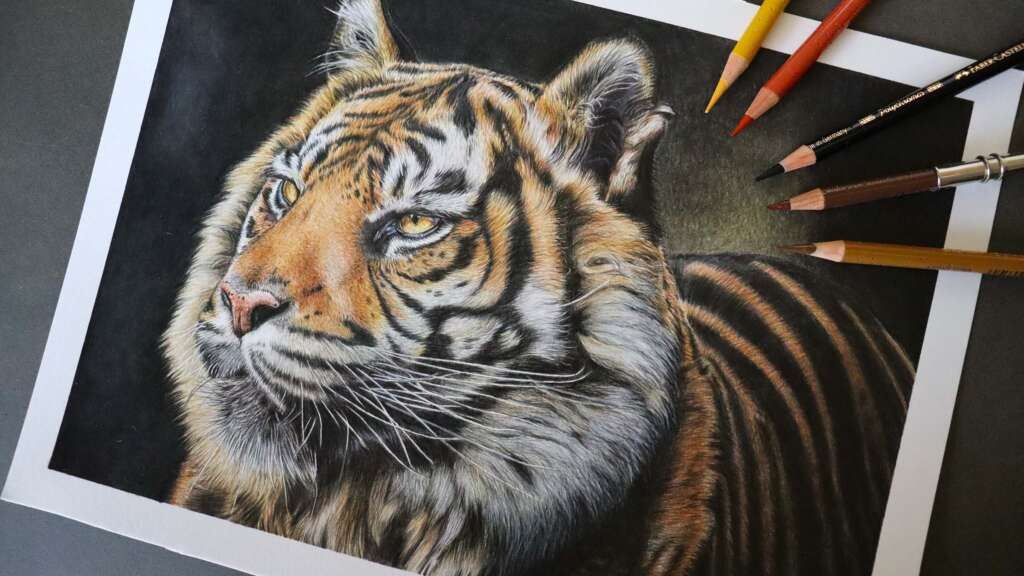
Tiger
Welcome to this handsome Tiger tutorial! Completed in around 21 hours this is great for seasoned artists as we use many different techniques and also for beginners to learn new skills along the way. Please access the material list to see all tools required for this one before you get started.
Tiger Material Video | Patreon
In this video is a quick rundown of what you need to complete this Tiger piece. Please make sure you are properly prepared to ensure you have the best success and please take the time to have a practice with your materials if you feel you need it.
Faber Castell Polychromos Pencils
Prisma Colour Soft White Pencil / Caran Dache Luminance White / Soft white Holbein Pencil
Caran Dache Blending Pencil – optional
Strathmore Bristol Vellum Paper A4 Size (21x30cm)
Zest-it Colour Pencil Blender (blending sponge optional)
Small Round Size 3 Paint Brush Medium
Water Colour Brush
Kneadable Eraser
Derwent Crank Handle Sharpener
Faber Castell Superpoint Mini Sharpener
Sandpaper Sharpener
Embossing Tool
Slice Tool / craft knife
Fluffy Brush
Washi Tape
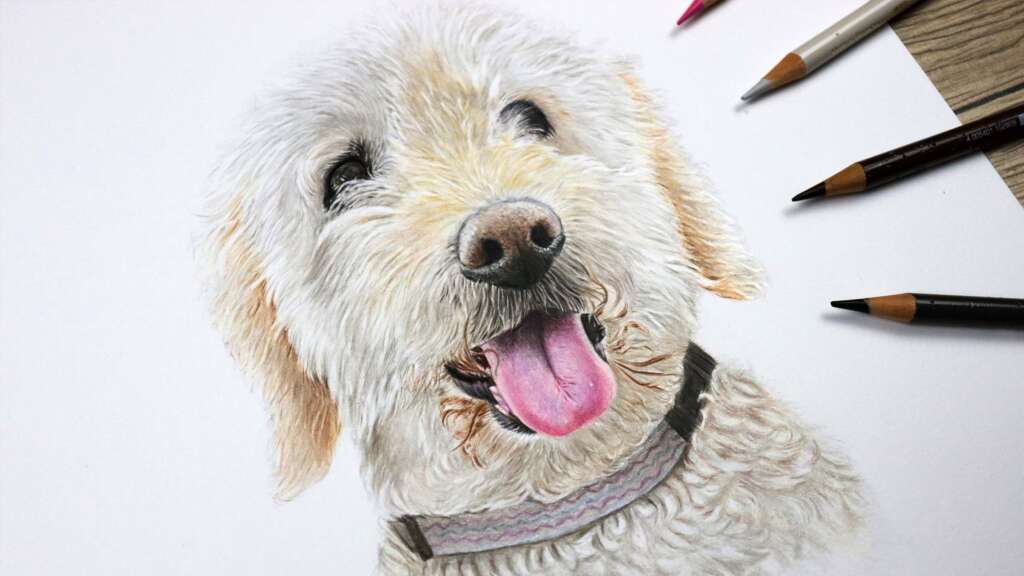
Welcome to this curly Labradoodle tutorial! In just over 7.5 hours we complete this lovely boy, Jack. This is great for practicing curly fur including getting those highlights in the light fur and tackling an open mouth piece.
Faber Castell Polychromos Pencils
Prisma Colour Soft White Pencil (or white waxy pencil)
Strathmore Bristol Vellum Paper 11×14 inch (dog is around 9x7inch on the page)
Kneadable Eraser
Derwent Crank Handle Sharpener
Faber Castell Superpoint Mini Sharpener
Sandpaper Sharpener
Embossing Tool
Slice Tool
Fluffy Brush
Washi Tape
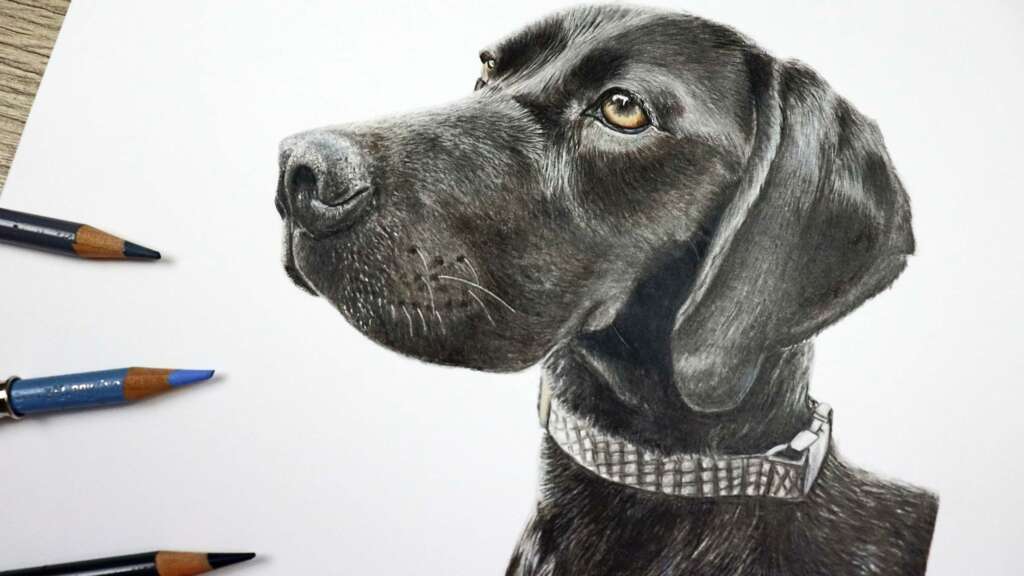
Welcome to this GSP tutorial! In just over 7 hours we complete this beautiful girl, Ruby. This is great for practicing black fur including getting those highlights on the fur.
Faber Castell Polychromos Pencils
Prisma Colour Soft White Pencil (or white waxy pencil)
Strathmore Bristol Vellum Paper 11×14 inch (dog is around 9x7inch on the page)
Zest-it Colour Pencil Blender (blending sponge optional)
Small Round Size 3 Paint Brush Medium
Water Colour Brush
Kneadable Eraser
Derwent Crank Handle Sharpener
Faber Castell Superpoint Mini Sharpener
Sandpaper Sharpener
Embossing Tool
Slice Tool
Fluffy Brush
Washi Tape
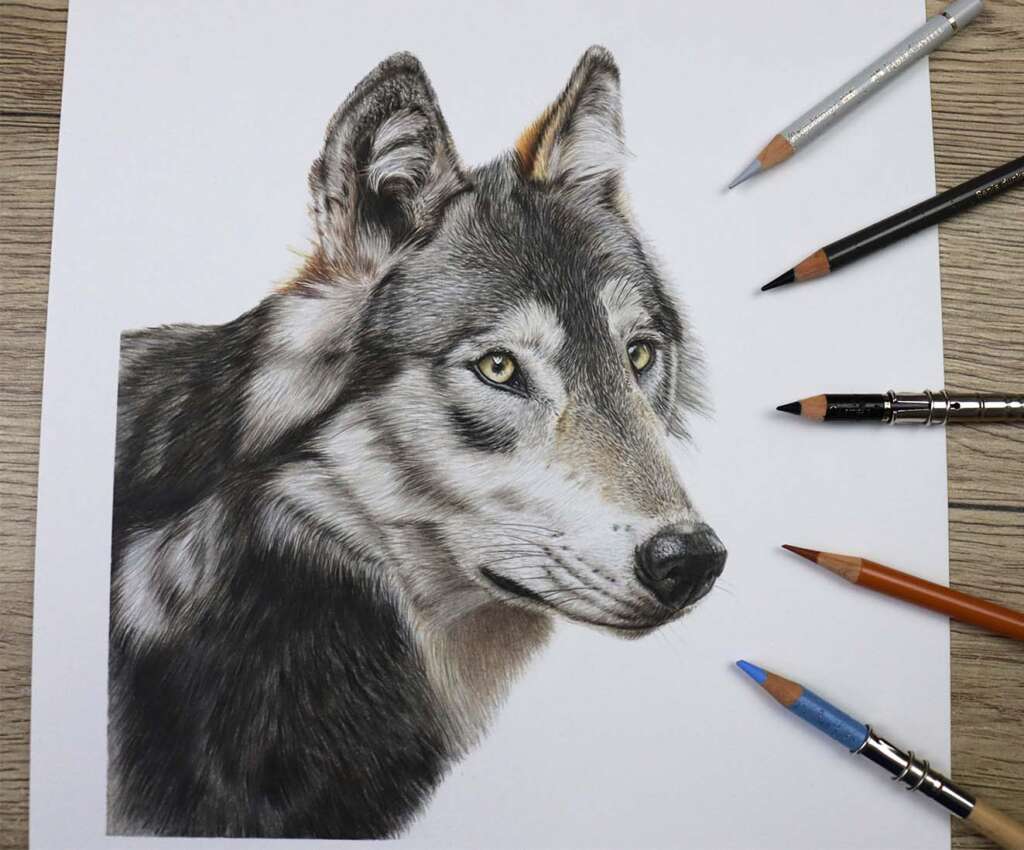
Welcome to the Wolf tutorial! This majestic wolf is completed in just over 9 hours. This is great for practicing black and white speckled fur. You will need a colour pencil solvent if you are following along with me but don’t be scared to give it a go if you have never used a liquid solvent before!
Faber Castell Polychromos Pencils
Prisma Colour Soft White Pencil (or white waxy pencil)
Strathmore Bristol Vellum Paper 11×14 inch (wolf is around 9x7inch on the page)
Zest-it Colour Pencil Blender (blending sponge optional)
Small Round Size 3 Paint Brush Medium
Water Colour Brush
Kneadable Eraser
Derwent Crank Handle Sharpener
Faber Castell Superpoint Mini Sharpener
Sandpaper Sharpener
Embossing Tool
Slice Tool
Fluffy Brush
Washi Tape
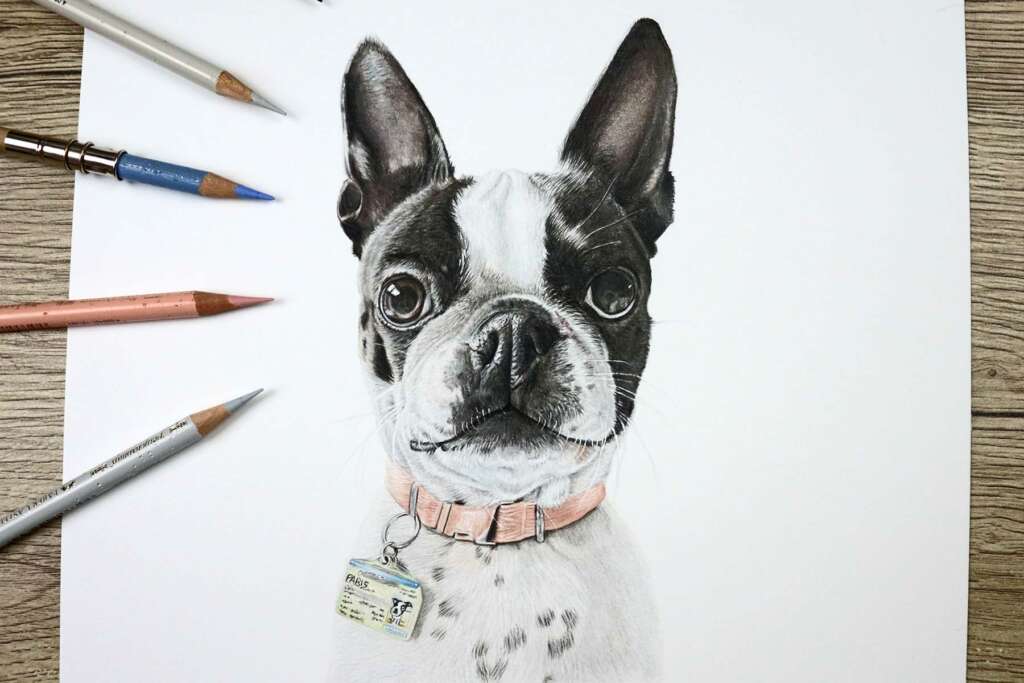
Meet Paris! Practice your pet portrait skills by completing this French Bulldog in just over 9 hours. This is great for practicing black and white fur and those big glassy eyes. We also get into some small details on the ID tag.
Faber Castell Polychromos Pencils
Prisma Colour Soft White Pencil (or white waxy pencil)
Individual Pencil Caran Dache Luminance White
Strathmore Bristol Vellum Paper 8×11 inch (dog is around 8×4)
Zest-it Colour Pencil Blender (blending sponge optional)
Small Round Size 3 Paint Brush
Kneadable Eraser
Derwent Crank Handle Sharpener Faber Castell
Superpoint Mini Sharpener
Sandpaper Sharpener
Embossing Tool
Slice Tool
Fluffy Brush
Washi Tape
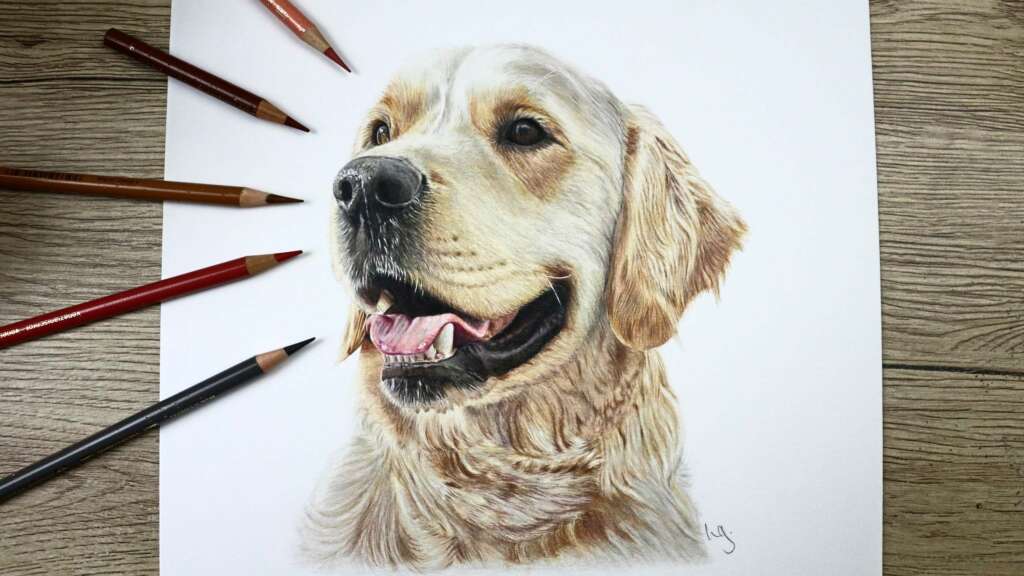
This is Benson! Practice your pet portrait commission skills by completing this golden retriever tutorial in just over 10.5 hours. This tutorial is great for learning curly fur and tackling the open mouth step by step!
- Faber Castell Polychromos Pencils
- Prisma Colour Soft White Pencil (or white waxy pencil)
- Strathmore Bristol Vellum Paper – dog size around 8×8 inches
- Kneadable Eraser
- Derwent Crank Handle Sharpener
- Faber Castell Superpoint Mini Sharpener
- Sandpaper Sharpener
- Embossing Tool
- Slice Tool
- Fluffy Brush
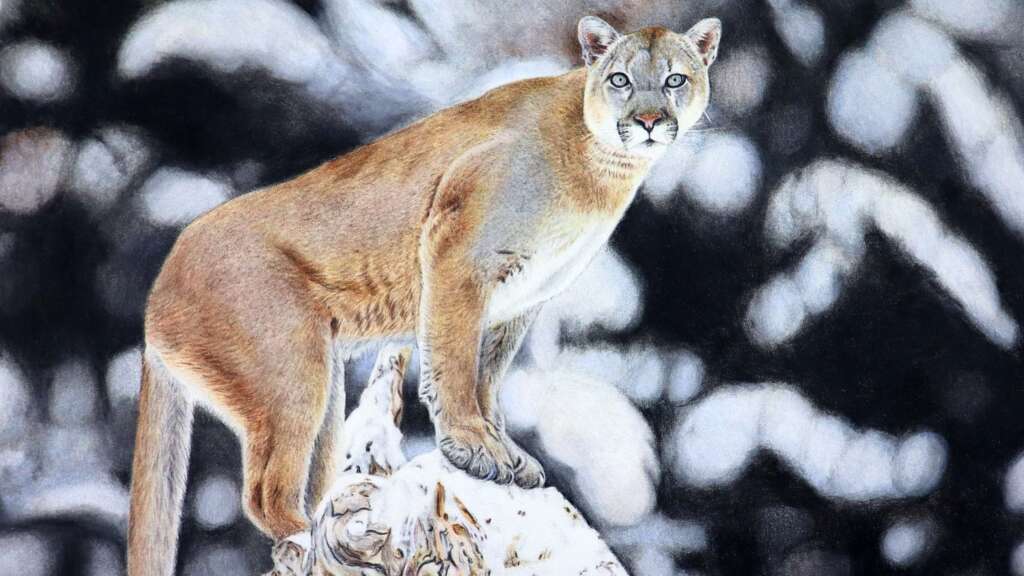
Welcome to the Mountain Lion tutorial! Create this beautiful scenic artwork with colour pencils in real-time over 13 hours. This piece isn’t for the faint at heart to please go in prepared this is quite tricky blending such a big background.
- Faber Castell Polychromos Pencils
- Prisma Colour Soft White Pencil (or white waxy pencil)
- Individual Pencil Caran Dache Luminance White
- Saunders Waterford Paper size 11 x 8 inch
- Zest-it Colour Pencil Blender (blending sponge optional)
- Small Round Size 3 Paint Brush
- Size 6 Water Colour Brush
- Kneadable Eraser
- Derwent Crank Handle Sharpener
- Faber Castell Superpoint Mini Sharpener
- Sandpaper Sharpener
- Embossing Tool
- Slice Tool
- Fluffy Brush
- Washi Tape
Baby Elephant
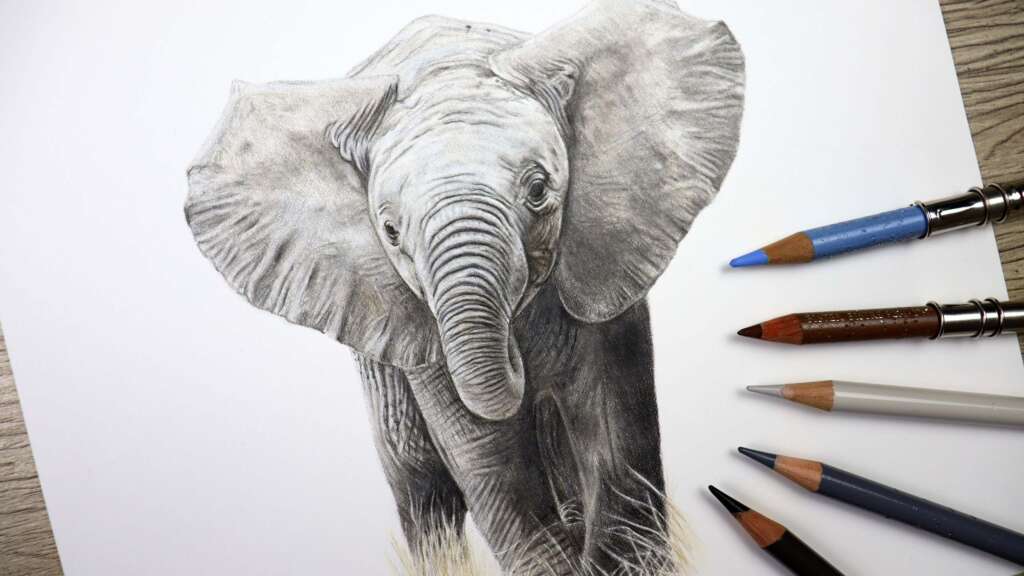
Complete this baby elephant tutorial in just under 6 hours! We don’t use any solvent in this tutorial only our pencils to blend. This tutorial is great for practicing smooth texture and wrinkles in the skin.
- Faber Castell Polychromos 60 set
- Warm Grey I – Cold Grey I – Alternative – Warm Grey II and Cold Grey II
- Sky Blue – Alternative – Light Ultramarine
- Warm Grey III – Alternative – Warm Grey II more layers
- Warm Grey IV – Alternative – Warm Grey V
- Bistre – Alternative – Raw Umber
- Beige Red – Alternative – Coral
- Ivory – Alternative – Cream very lightly
- Dark Sepia – Alternative – Warm Grey V / Black
- Prismacolour White
- Fabriano Artistico Hot Pressed Watercolour Paper 8×8 inch – elephant is around 6×6 inch
- Embossing Tool
- Kneadable Eraser
- Derwent Crank Handle Sharpener
- Faber Castell Superpoint Mini Sharpener
- Sandpaper Sharpener
- Slice Tool
- Fluffy Brush
- Washi Tape
Reference photo from Pexels – Photographer credit: Pixabay
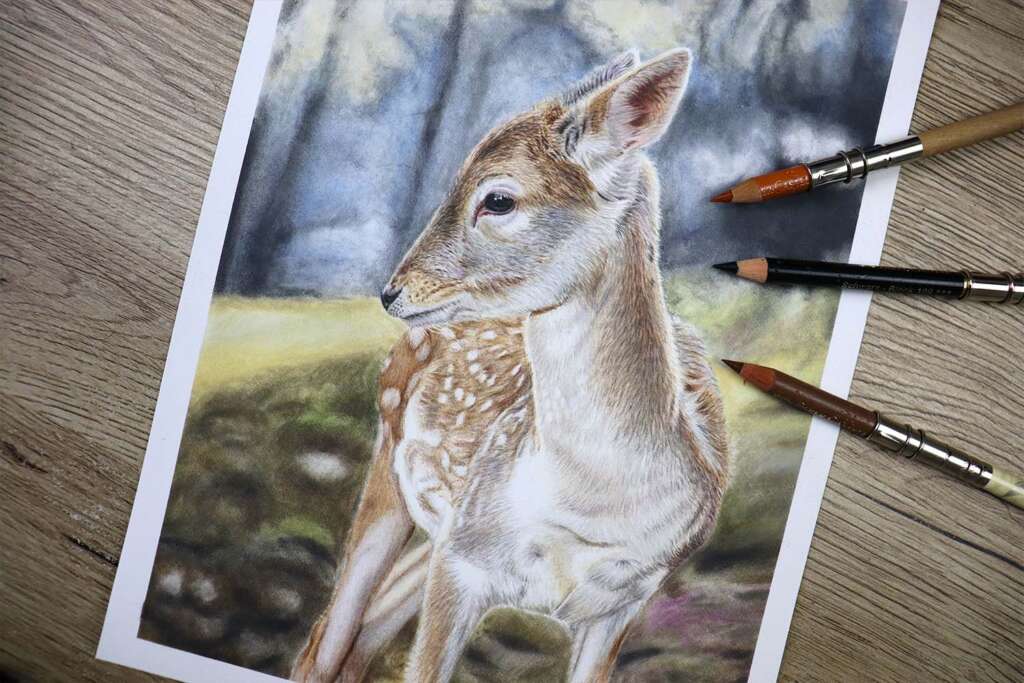
Deer
To celebrate the festive season, we’re completing this majestic deer with colour pencils and pan pastels in 9.5 hours. To skip the background and only complete the deer – you can skip to 48 minutes in Part 1. This is great to learn about blurry textures and practice fur texture.
- Faber Castell Polychromos 60 set
- Warm Grey I – Cold Grey I – Alternative – Warm Grey II and Cold Grey II
- Violet – Alternative – Purple Violet
- Sky Blue – Alternative – Light Ultramarine
- Warm Grey III – Alternative – Warm Grey II
- Burnt Umber – Alternative – Walnut Brown
- Warm Grey IV – Alternative – Warm Grey V
- Bistre – Alternative – Raw Umber
- Beige Red – Alternative – Coral
- Ivory – Alternative – Cream very lightly
- Dark Sepia – Alternative – Warm Grey V
- Prismacolour White
- Fabriano Artistico Hot Pressed Watercolour Paper 10.5×8.5 inch
- Embossing Tool
- Kneadable Eraser
- Derwent Crank Handle Sharpener
- Faber Castell Superpoint Mini Sharpener
- Sandpaper Sharpener
- Slice Tool
- Fluffy Brush
- Washi Tape
Pan Pastel Colours:
- Pearlescent Yellow
- Silver
- Light Gold
- Neutral Grey Ex Dark
- Pearlescent Orange
- Ultramarine Blue Tint
- Neutral Grey Ex Dark
- Ultramarine Blue Shade
- Paynes Grey Ex Dark
- Ultra Blue Ex Dark
- Pearlescent Yellow
- Bright Yellow Green Ex Dark
- Perm Green Ex Dark
- Yellow Ochre Ex Dark
- Raw Umber Ex Dark
- Hansa Yellow Ex Dark
- Burnt Siena
- Reference photo from Pixabay – Photographer Credit: Antonios Ntoumas
Wombat
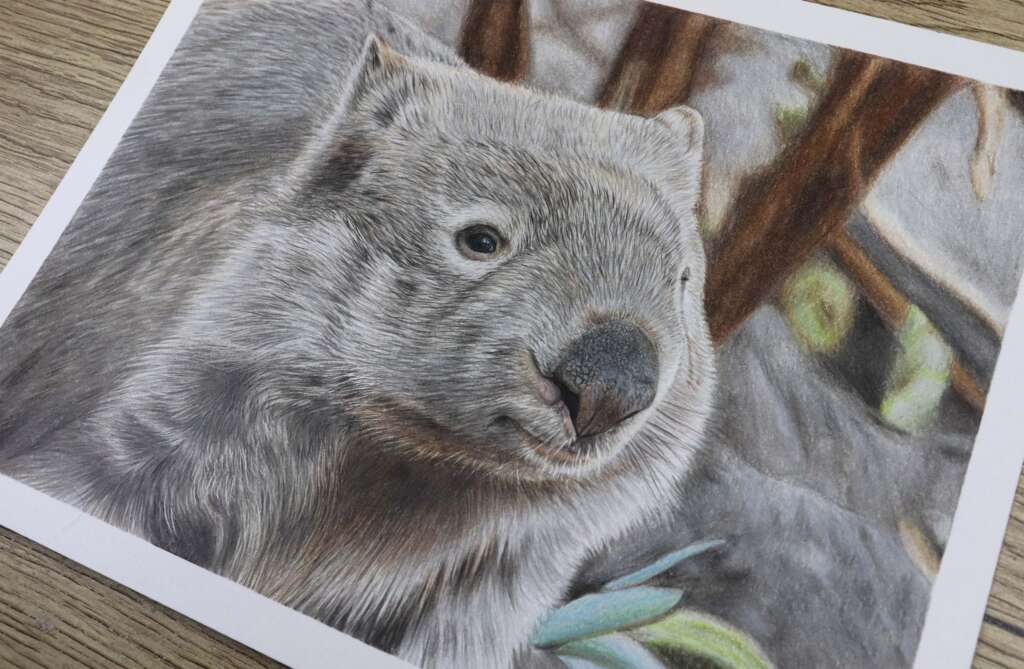
Create this beautiful Wombat and full background with colour pencils in real-time over 11 hours. This tutorial is great to learn fur technique and building up thick fur! For the background we practice our smooth shading and soft blending.
- Faber Castell Polychromos 60 set
- Individual Polychromos colours:
- Bistre – alternative colour – raw umber
- Violet – alternative colour – purple violet
- Caput Mortuum – alternative colour – burnt siena
- Cinnamon – alternative colour – coral
- May Green – alternative colour – Earth Green Yellowish
- For the greys you can just use Warm and Cold Grey II
- Prismacolour White
- Strathmore Bristol Vellum size 10×8 inch
- Zest-it Colour Pencil Blender (blending sponge)
- Small Round Size 3 Paint Brush
- Medium Round Watercolour Brush
- Kneadable Eraser
- Derwent Crank Handle Sharpener
- Faber Castell Superpoint Mini Sharpener
- Sandpaper Sharpener
- Slice Tool
- Fluffy Brush
- Washi Tape
Reference photo from Pixabay – Photographer Credit: PenelopePitstop
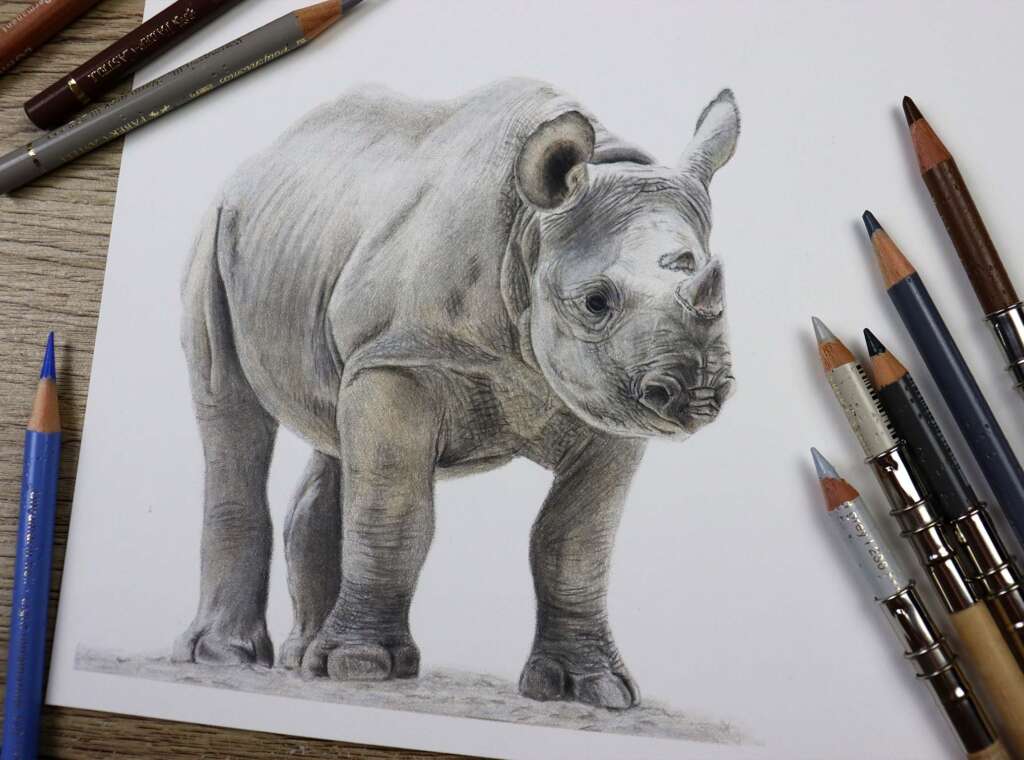
Baby Rhino
Create this sweet baby Rhino with colour pencils in real-time over 7 hours. Learning how to blend your pencils to create smooth texture and create shadows and wrinkles in the skin. This is great to learn for other similar animals such as elephants, hippos, reptiles and even human skin.
- Faber Castell Polychromos 60 set
- Individual Polychromos colours:
- Bistre – alternative colour – raw umber
- Violet – alternative colour – purple violet
- For the greys you can just use Warm and Cold Grey II
- Prismacolour White
- Fabriano Artistico Hot Pressed Water Colour Paper – 10×8 inch although Rhino is around 6×5 inch
- Kneadable Eraser
- Derwent Crank Handle Sharpener
- Faber Castell Superpoint Mini Sharpener
- Sandpaper Sharpener
- Slice Tool
- Fluffy Brush
- Washi Tape
Reference photo from Pixabay – Photographer Credit: Pixel-mixer
Kangaroo
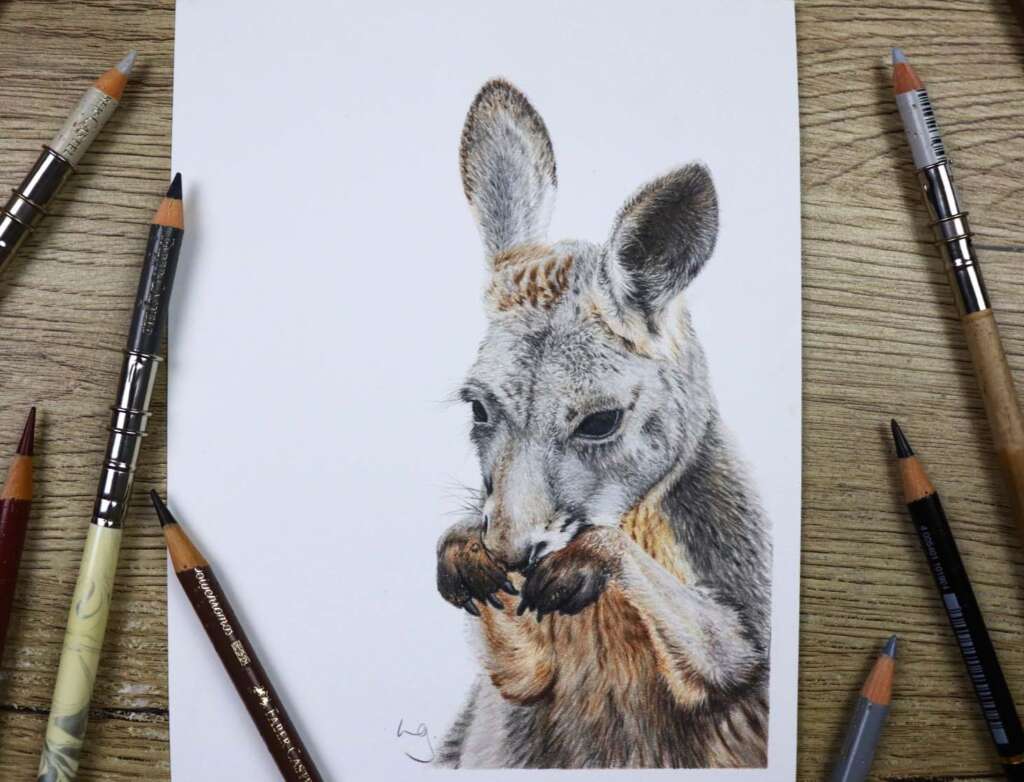
Complete this real-time kangaroo tutorial in just over 6 hours using colour pencils – no solvent needed!
An Australian icon – I really love the big dark eyes, cute little paws and the fur on the chest is my favourite part of this piece.
- Faber Castell Polychromos 60 set
- Individual Pencil Caran Dache Luminance Wh
- te Fabriano Artistico Hot Pressed Watercolour Paper 7.5 x 6 inch
- Embossing Tool
- Kneadable Eraser
- Derwent Crank Handle Sharpener
- Faber Castell Superpoint Mini Sharpener
- Sandpaper Sharpener
- Fluffy Brush
- Washi Tape
Reference photo from pexels – Phtotographer credit: EM
Monkey
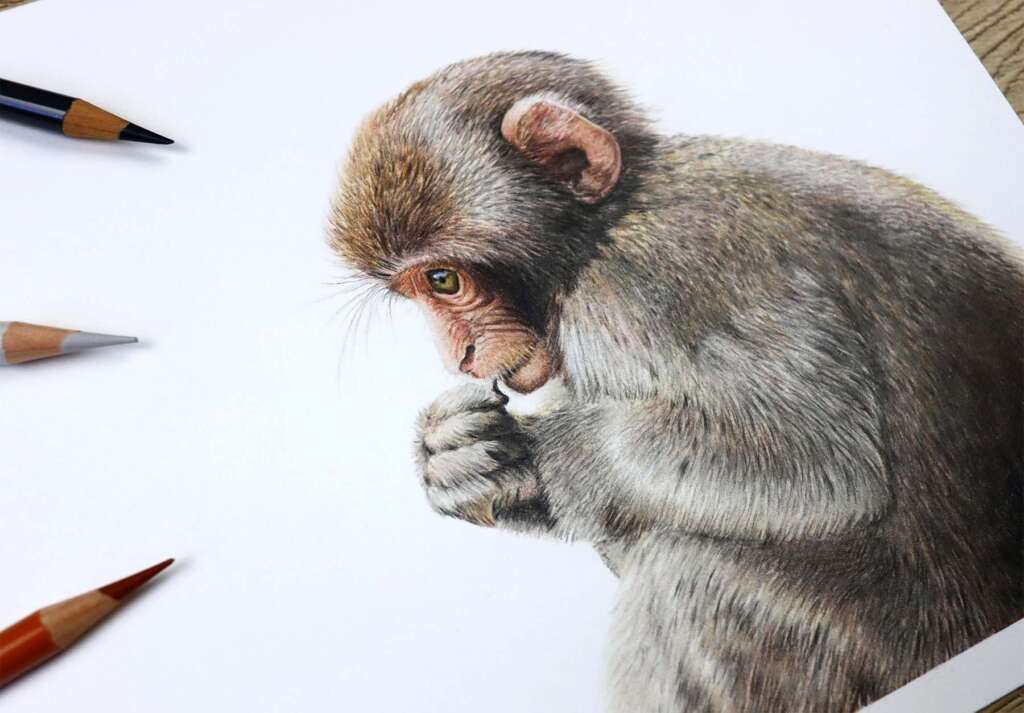
Welcome to this monkey tutorial! Complete this beautiful little monkey with colour pencils in real-time over 8 hours. This is a macaque monkey from the Indian subcontinent.
Woh!! Wait… wait a minute! Before you get started, I just wanted to talk about composition. So, composition is where your subject and the focus of the piece will be when it’s completed. For this monkey, he is sitting and staring so thoughtfully off to the left, so I have placed him on the right-hand side of the paper to add some space between him and the edge of the frame. When thinking of where your subject sits and where you want people to look when seeing your art, think about where your main focus will be. I have placed the monkey’s face pretty much in the center of the paper but if I cut the paper as a box around the monkey, the middle would be its shoulder and (I believe) not as effective. So, no matter the animal/flower/person/subject matter – think about where you want it to sit and where your viewers eye will be drawn when looking at the piece for the first time.
- Faber Castell Polychromos 60 set
- Alternative colours you could use:
- Warm Grey 1 alternative Warm Grey 2
- Sky Blue alternative Light Ultramarine
- Bistre alternative Raw Umber
- Light Yellow Ochre alternative Naples Yellow
- Individual Pencil Caran Dache Luminance White
- Saunders Waterford Hot Pressed Watercolour Paper 10×8 inch
- Zest-it Colour Pencil Blender (blending sponge)
- Small Round Size 3 Paint Brush
- Kneadable Eraser
- Derwent Crank Handle Sharpener
- Faber Castell Superpoint Mini Sharpener
- Sandpaper Sharpener
- Embossing Tool
- Slice Tool
- Fluffy Brush
- Washi Tape
Reference photo from Pexels – Photographer Credit: DSD
Guide Dog
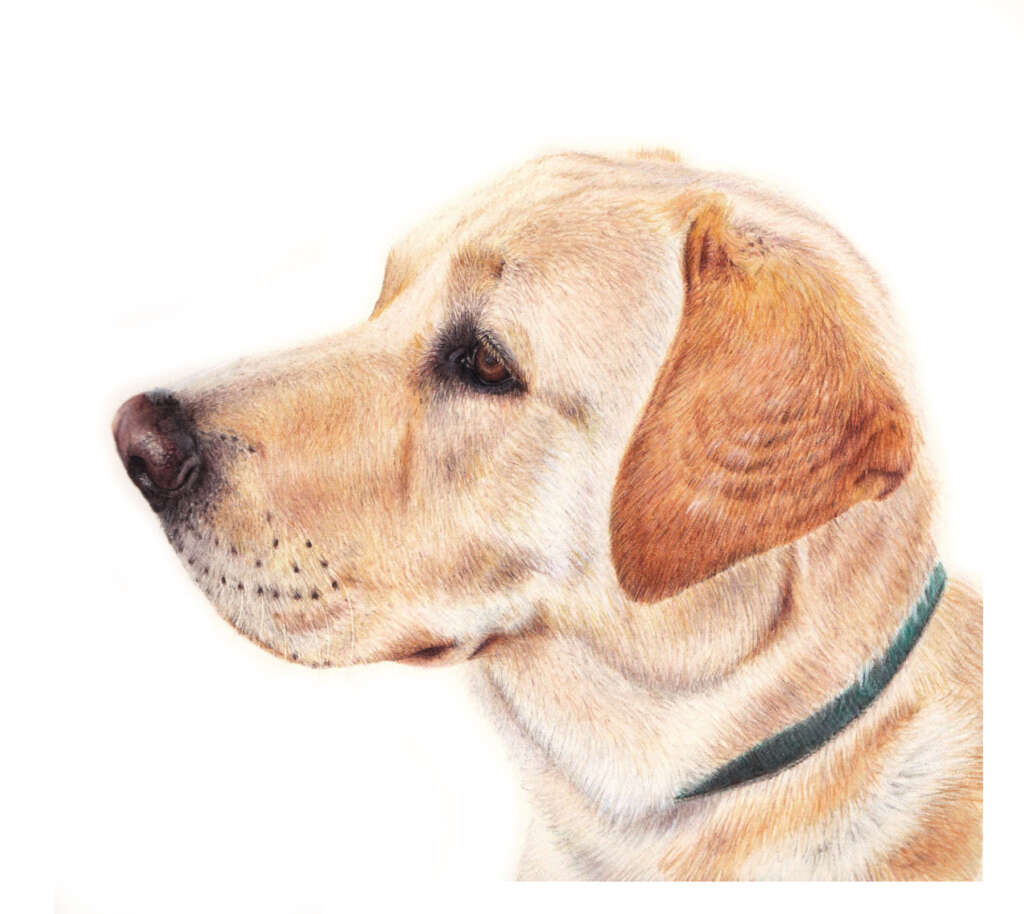
This is Waldo! This piece is very special to me as I completed this in December 2022 as a gift for my Mum. She had a difficult journey with cancer and passed mid 2023. She loved dogs and volunteered with Guide Dogs Aus providing care for dogs who were in remission and cared for Waldo while he was a puppy. This piece still sits at my parents’ house.
Create this hard-working professional Guide Dog with colour pencils in real-time over 9 hours.
- Faber Castell Polychromos 60 set
- Individual Polychromos colours:
- Dark Sepia – Alternative – Black
- Ivory – Alternative – Cream
- Warm Grey 1 – Alternative – Warm Grey II
- Warm Grey III – Alternative – Warm Grey V
- Beige Red – Alternative – Coral
- Caput Mortuum Violet – Alternative – Burnt Siena
- Nougat/Bistre- Alternative – Raw Umber
- Manganese Violet Alternative – Purple Violet
- Terracotta – Alternative – Burnt Ochre
- Chrome Oxide Green Fiery – Alternative – Emerald Green
- Individual Holbein Soft White Pencil
- Fabriano Artistico Hot Pressed Water Colour Paper size 9 x 7 inch
- Size 6 Water Colour Brush
- Kneadable Eraser
- Derwent Crank Handle Sharpener
- Faber Castell Superpoint Mini Sharpener
- Sandpaper Sharpener
- Fluffy Brush
- Washi Tape
Reference photo was from me – Lisa Galley
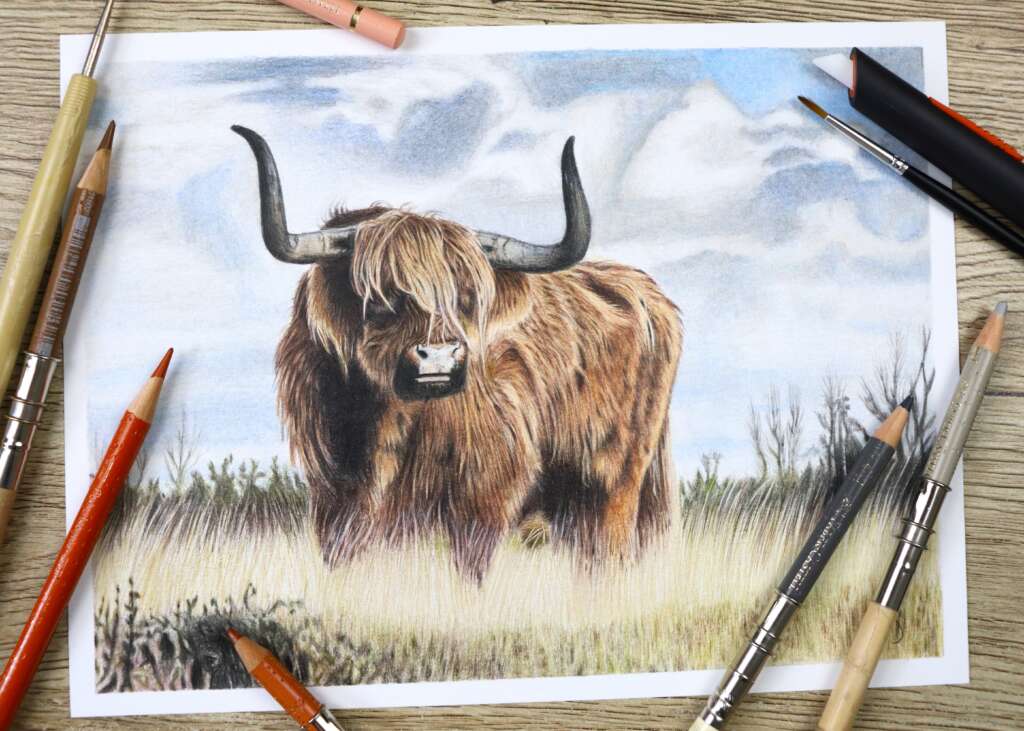
Highland Cow
Welcome to the Highland Cow tutorial!
Create this beautiful scenic artwork with colour pencils in real-time over 9 hours. This fur/hair can be quite difficult to master but we will go over each section in detail.
- Faber Castell Polychromos 60 set
- Individual Polychromos colours: Dark Sepia / Ivory
- Individual Pencil Caran Dache Luminance White
- Strathmore Bristol Vellum Paper size 9 x 7 inch
- Zest-it Colour Pencil Blender (blending sponge)
- Small Round Size 3 Paint Brush
- Size 6 Water Colour Brush
- Kneadable Eraser
- Derwent Crank Handle Sharpener
- Faber Castell Superpoint Mini Sharpener
- Sandpaper Sharpener
- Embossing Tool
- Slice Tool
- Fluffy Brush
- Washi Tape
Reference photo from Pixabay – Photographer Credit: RonBerg
